
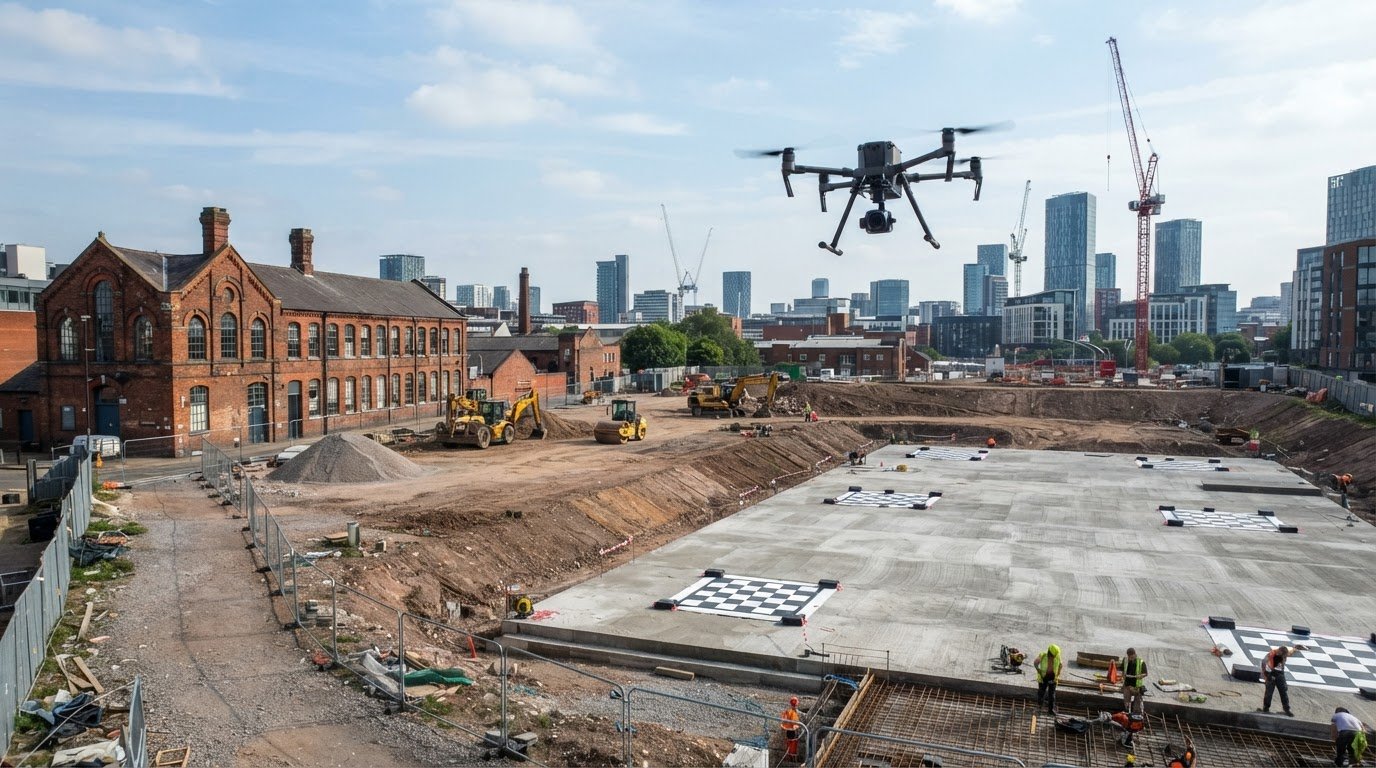
Uploading drone data is only the first step. The files need to be organised so the project team can use them. A practical drone data integration with Autodesk Construction Cloud starts by uploading capture outputs to the relevant project area, then reviewing them alongside design information using the tools available to your team.
It’s reasonable to expect a direct connection to transfer every drone dataset automatically, but upload options, file handling and access permissions can affect the workflow. This guide explains how to prepare and upload capture data, compare site conditions with design models, and understand the limits of direct uploads. You’ll also learn which permissions matter, so project information stays accessible to the people who need it without mistaking a manual upload for automated integration.
Key Takeaways
- Choose a suitable upload route for your photogrammetry outputs, and distinguish direct file uploads from automated data synchronisation.
- Keep capture files organised in the relevant project area so teams can locate and interpret them more easily.
- For useful field comparisons, consider whether the capture and design model are aligned and whether they represent the right project versions.
- Understand how platform compatibility and user permissions shape access, and when professional site capture can support construction monitoring.
Direct upload of drone photogrammetry and reality-capture data
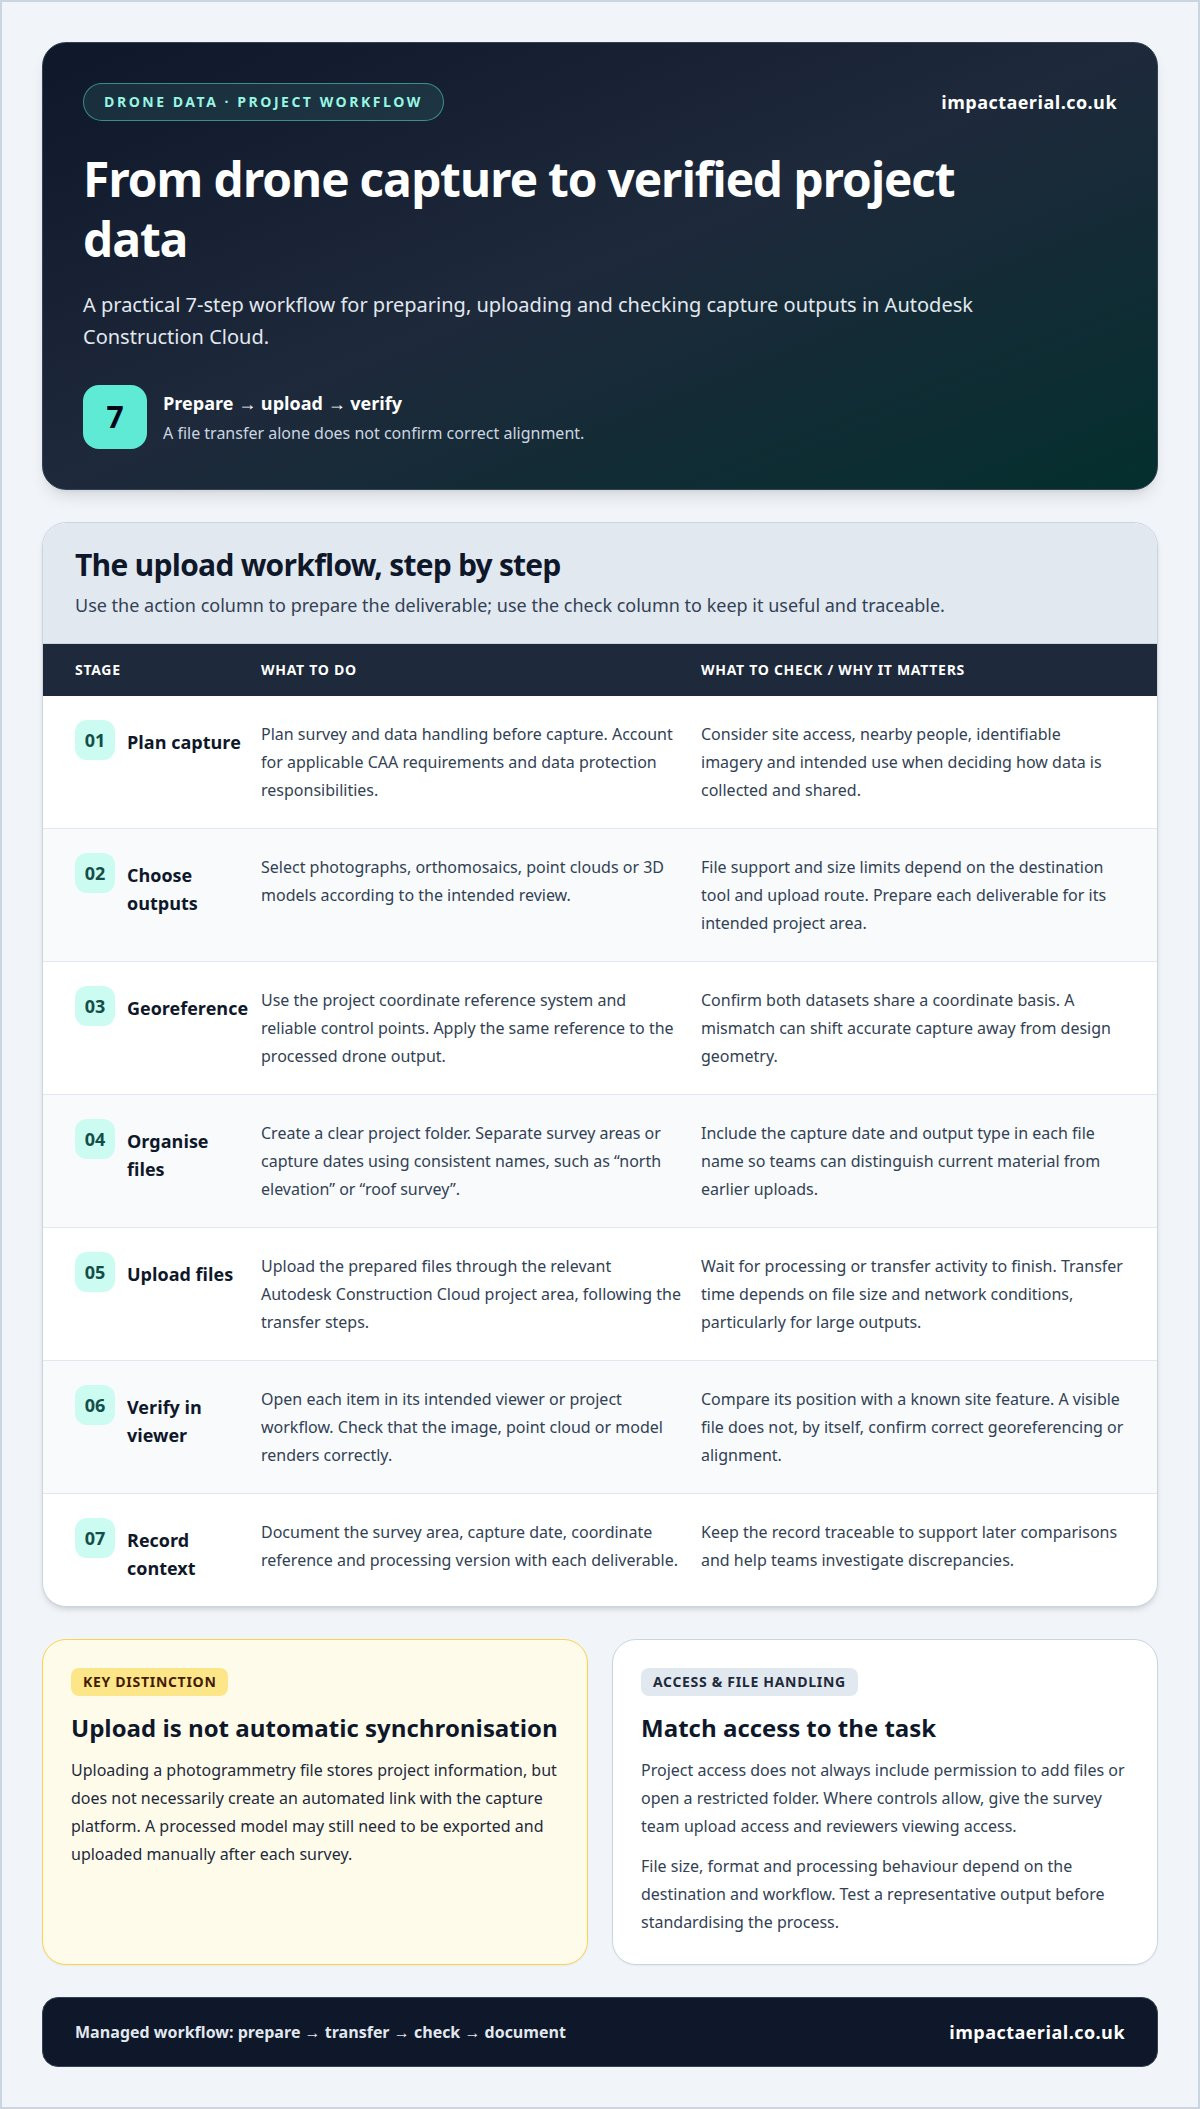
- Plan the survey and data handling before capture. UK construction surveys must account for applicable Civil Aviation Authority requirements and data protection responsibilities. Site access, nearby people, identifiable imagery and intended use all shape how capture data is collected and shared. This planning gives drone data integration with Autodesk Construction Cloud a clear operational starting point.
- Choose outputs according to their intended use. Photographs, orthomosaics, point clouds and three-dimensional models support different reviews. Autodesk Construction Cloud file support and size limits depend on the destination tool and upload route. Prepare each deliverable for its intended project area, rather than assuming every capture format transfers in the same way.
- Georeference the survey before comparing it with project information. Use the project coordinate reference system and reliable control points, and apply the same reference to the processed drone output. Confirm that both datasets share a coordinate basis: mismatched references can shift accurate capture away from design geometry.
- Prepare a clear project folder before uploading. Separate survey areas or capture dates with consistent names, such as “north elevation” or “roof survey”. Include the capture date and output type in each file name to distinguish current material from earlier uploads.
- Upload the prepared files through the relevant Autodesk Construction Cloud project area, following the transfer steps. Wait for processing or transfer activity to finish before relying on the upload. Transfer time depends on file size and network conditions, particularly for large reality-capture outputs.
- Open each uploaded item in its intended viewer or project workflow. Check that the image, point cloud or model renders correctly, then compare its position with a known site feature. A visible file does not, by itself, confirm correct georeferencing or alignment.
- Record the capture context with each deliverable. Note the survey area, date, coordinate reference and processing version in project documentation. This supports later comparisons and helps teams trace discrepancies. Treat drone data integration with Autodesk Construction Cloud as a managed workflow, not simply a file transfer.
Plan capture and sharing around applicable CAA requirements and data protection responsibilities. Consider site access, nearby people, identifiable imagery and the intended use of the data.
Field verification against design models
- Open the relevant design model and drone capture in the project’s review environment. Confirm that both refer to the same site area and design revision. Comparing a roof capture with an earlier roof layout, for example, may suggest a discrepancy that the current model has already resolved.
- Check coordinate alignment before assessing dimensions or positions. Compare recognisable features, such as a building corner, column line or access road. If these features appear displaced throughout the view, investigate the coordinate reference or model placement before interpreting individual differences.
- Review the capture at a consistent scale and viewpoint. Use a roof edge, façade opening or service route as a clear comparison point. Perspective images can make distances difficult to assess, so use a georeferenced model or measured view where the workflow supports it.
- Separate visible observations from conclusions. For example, record that a material stack occupies a planned access route rather than assuming the route is permanently blocked. Add a location, image reference and concise note so the project team can assess the finding in context.
- Compare the relevant design element with the captured condition. Check roof equipment placement, façade progress, temporary works or site access against the applicable model information. Record whether the feature appears aligned, incomplete or different, and identify the exact area for follow-up.
- Keep each observation traceable. Associate the note with the capture date and model revision, then direct it to the responsible project team. This helps reviewers distinguish a current site condition from an older image or superseded design. For repeatable visual records, drone capture data for project reviews can support the comparison workflow.
Integration limitations and user permissions
- Define what “integration” means for your workflow. Uploading a photogrammetry file to Autodesk Construction Cloud stores project information, but doesn’t necessarily create an automated link with the capture platform. A team may still need to export a processed model and upload it manually after each survey.
- Map each output to its intended destination. A processed orthomosaic, point cloud and original image set are different deliverables. Preview, processing and comparison options can vary by file type and project tools. Test a representative output before standardising the workflow across site teams.
- Use the upload interface to assess whether a file is accepted. File size, format and processing behaviour depend on the destination and available workflow. If a large dataset fails, consider exporting a suitable derivative, such as a reduced-resolution overview, while retaining the original through the project’s agreed storage process.
- Review access at both project and folder level. A person may be able to see a project but lack permission to add files or open a restricted folder. Where project access controls allow, grant upload access to the survey team and viewing access to reviewers.
- Assign responsibility for permissions and changes. Project administrators can manage access, while team members should use their assigned permissions rather than shared sign-ins. When a subcontractor’s work ends, remove or adjust access through the project’s normal account-management process.
- Test the complete route with a non-critical sample. Upload a representative file, confirm that the intended users can open it, and record any manual export or processing steps. This reveals practical limits before a live survey depends on the workflow, including unsupported previews or access gaps.
Which drone mapping and photogrammetry platforms integrate with Autodesk Construction Cloud?
- First, distinguish a direct integration from a compatible file workflow. A direct integration transfers information between platforms through a supported connection. A file workflow exports a processed deliverable, then uploads it to Autodesk Construction Cloud. Both can put survey data in a project, but they involve different steps.
- Identify the mapping platform’s available transfer route. Look for a named Autodesk Construction Cloud connector, an API-based connection or export options. Don’t assume a platform is directly integrated simply because it produces files the project environment can accept.
- Match the transfer route to the output. A photogrammetry platform might export an orthomosaic, point cloud or model. The file extension alone doesn’t establish that every project tool can display, process or compare the output. Confirm the intended destination and review function.
- Test a representative export before planning repeat surveys. Follow the complete route, from processing in the mapping platform to opening the result in the project. Note whether the process requires a manual export, file renaming, a separate upload or a permission adjustment.
- Compare platforms against the workflow your team needs. A project requiring periodic visual records, for example, may value a consistent image-export process. A team reviewing model geometry may prioritise a suitable model or point-cloud output. Neither example confirms a native connection.
- Keep a brief compatibility record for each chosen workflow. Record the platform name, export type, destination and any manual steps. Revisit the record when the project’s review process or data requirements change. It is more useful than assuming every mapping platform connects in the same way.
For site teams planning repeatable aerial capture, discuss construction site monitoring as part of the project workflow.
Impact Aerial: Drone Commercial Property Surveys
Impact Aerial provides Drone Commercial Property Surveys for teams needing clear aerial records of buildings and site conditions. Its CAA GVC certified pilots use professional-grade commercial drones with high-resolution 4K HDR cameras, producing capture material that can support project reviews and documentation. The survey outputs still need to be prepared for the destination workflow, including seamless drone data integration with autodesk construction cloud.
For ongoing site progress, Impact Aerial’s Construction Site Monitoring provides repeat aerial views to help teams review visible changes over time. Impact Aerial also undertakes PV Solar Farm Thermal Surveys for solar asset inspections. The right capture depends on the site, the information needed and how the project team plans to use the data.
Contact Impact Aerial to discuss a drone survey for your project.
Plan the next capture around a clear project decision
Before the next flight, decide what the project team needs to understand from the imagery. A roof condition review, a construction progress record and a solar asset inspection each call for different capture priorities. Define the intended review and the information that should accompany the files, then align the capture plan with that purpose. This gives drone data integration with Autodesk Construction Cloud a practical role in project decisions, rather than making upload the end goal.
Impact Aerial supports capture needs through Drone Commercial Property Surveys, Aerial Filming and Photography, and PV Solar Farm Thermal Surveys. Choose the service that fits the site and information required, then consider how its outputs will enter the project workflow.
Contact Impact Aerial about drone data to discuss your project’s capture requirements and next steps.
 2 Norton Drive, Wythall, Birmingham, B47 6HH Company registration number: 11138586. VAT Number: 366 9068 55


